Friday 13 January 2012

Get Organised

I of all people know how hard it is to stay organised when it comes to working on projects.
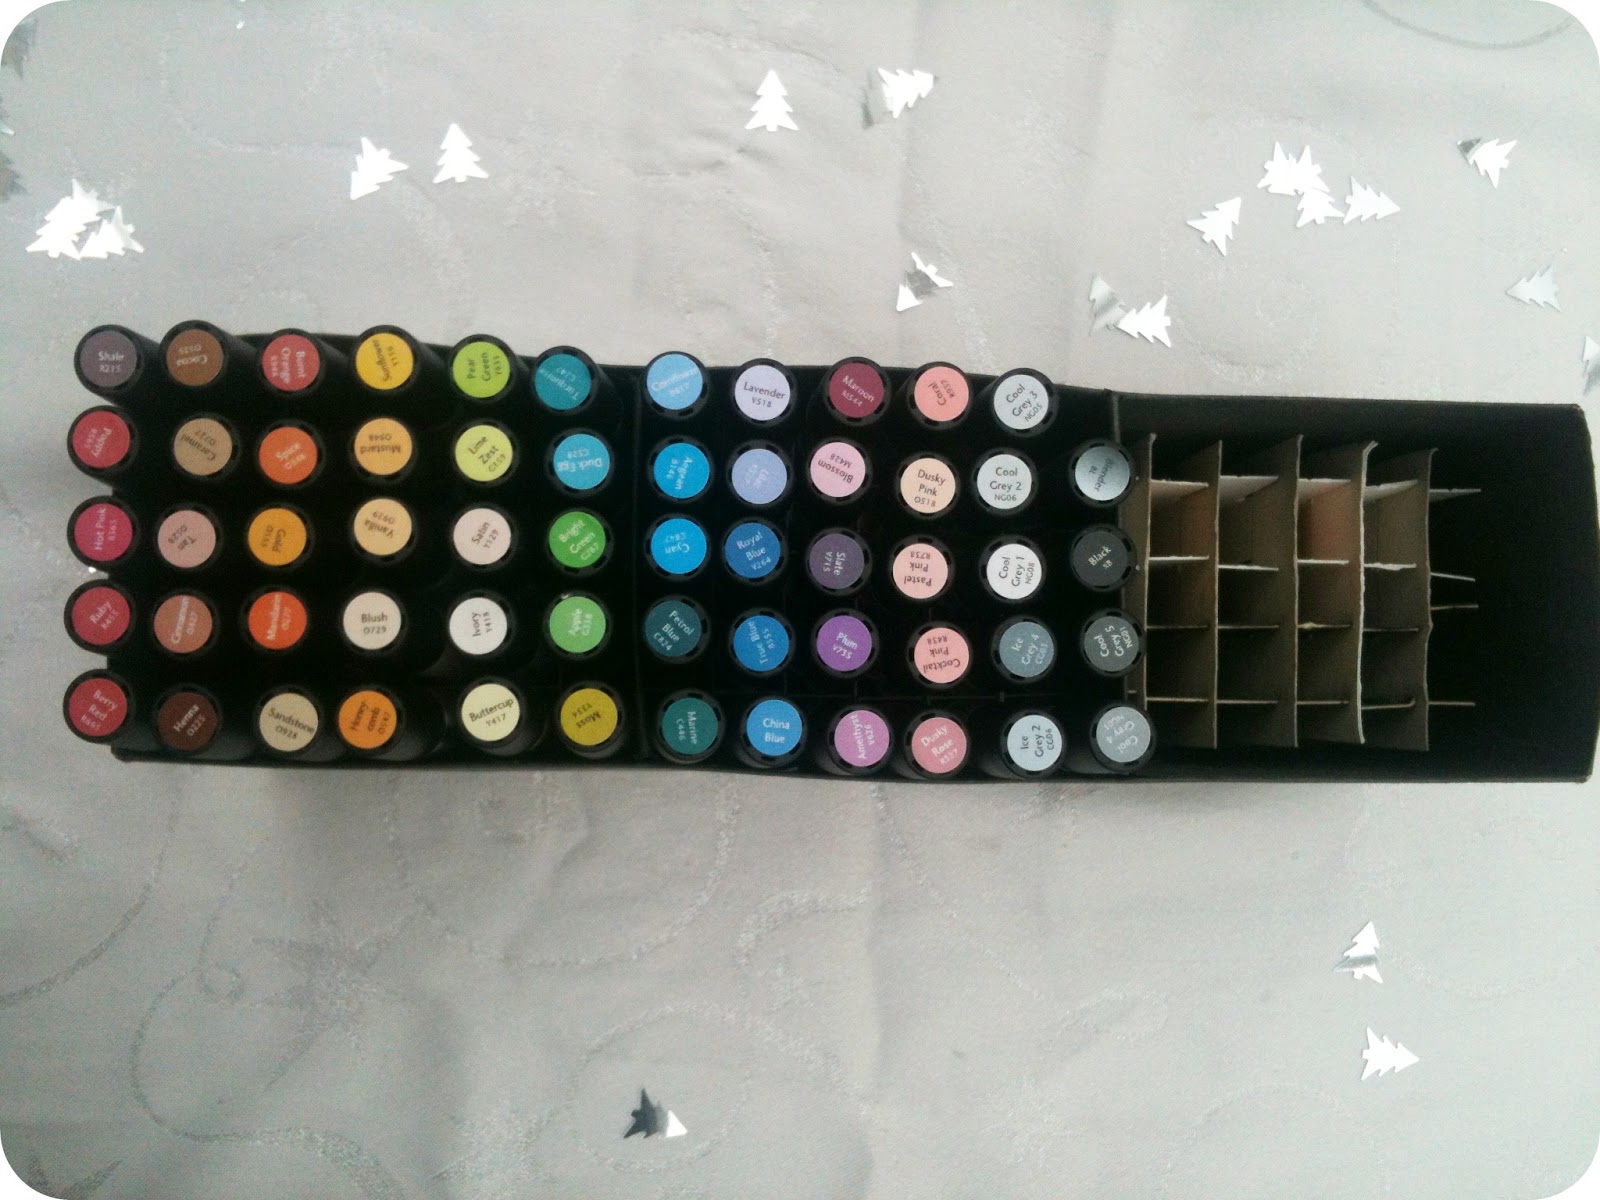
You can expect to see an entire table covered in photos, cut out bits of paper, scrap fabric, pens everywhere. Basically just chaos. And usually a pen, or photo, you happen to need has been lost somewhere under it all.
I know I usually waste a lot of time hunting for things amongst the rubbish.

My solution:

For Christmas my sister bought me a huge board with a Pirated of the Caribbean background, and she said she thought I might find it useful if I want to do my work on my lap or something. I was very grateful, but didn't give it much thought after.
But when my new project started I had an idea:


The only problem with this board is that when I work I need a clear background so I can focus purely on the subject I'm working on, but as you can see the background of the board is really busy. Way too busy for me anyway. 

But, as you can see, on either side of the board there are clear panels for you to slide in notes, photos, etc. 
So I had the idea of using the panels to hold an A2 piece of blank paper (you can buy an a2 sketch pad at Poundland), and this would act as my blank canvas:


I then used the side panels to organise my images and inspiration, so I know where everything was when the time comes to using them:


The paper background is perfect as you can write on it. So you always have with a check list of things to do, deadlines, notes, brainstorms etc etc.

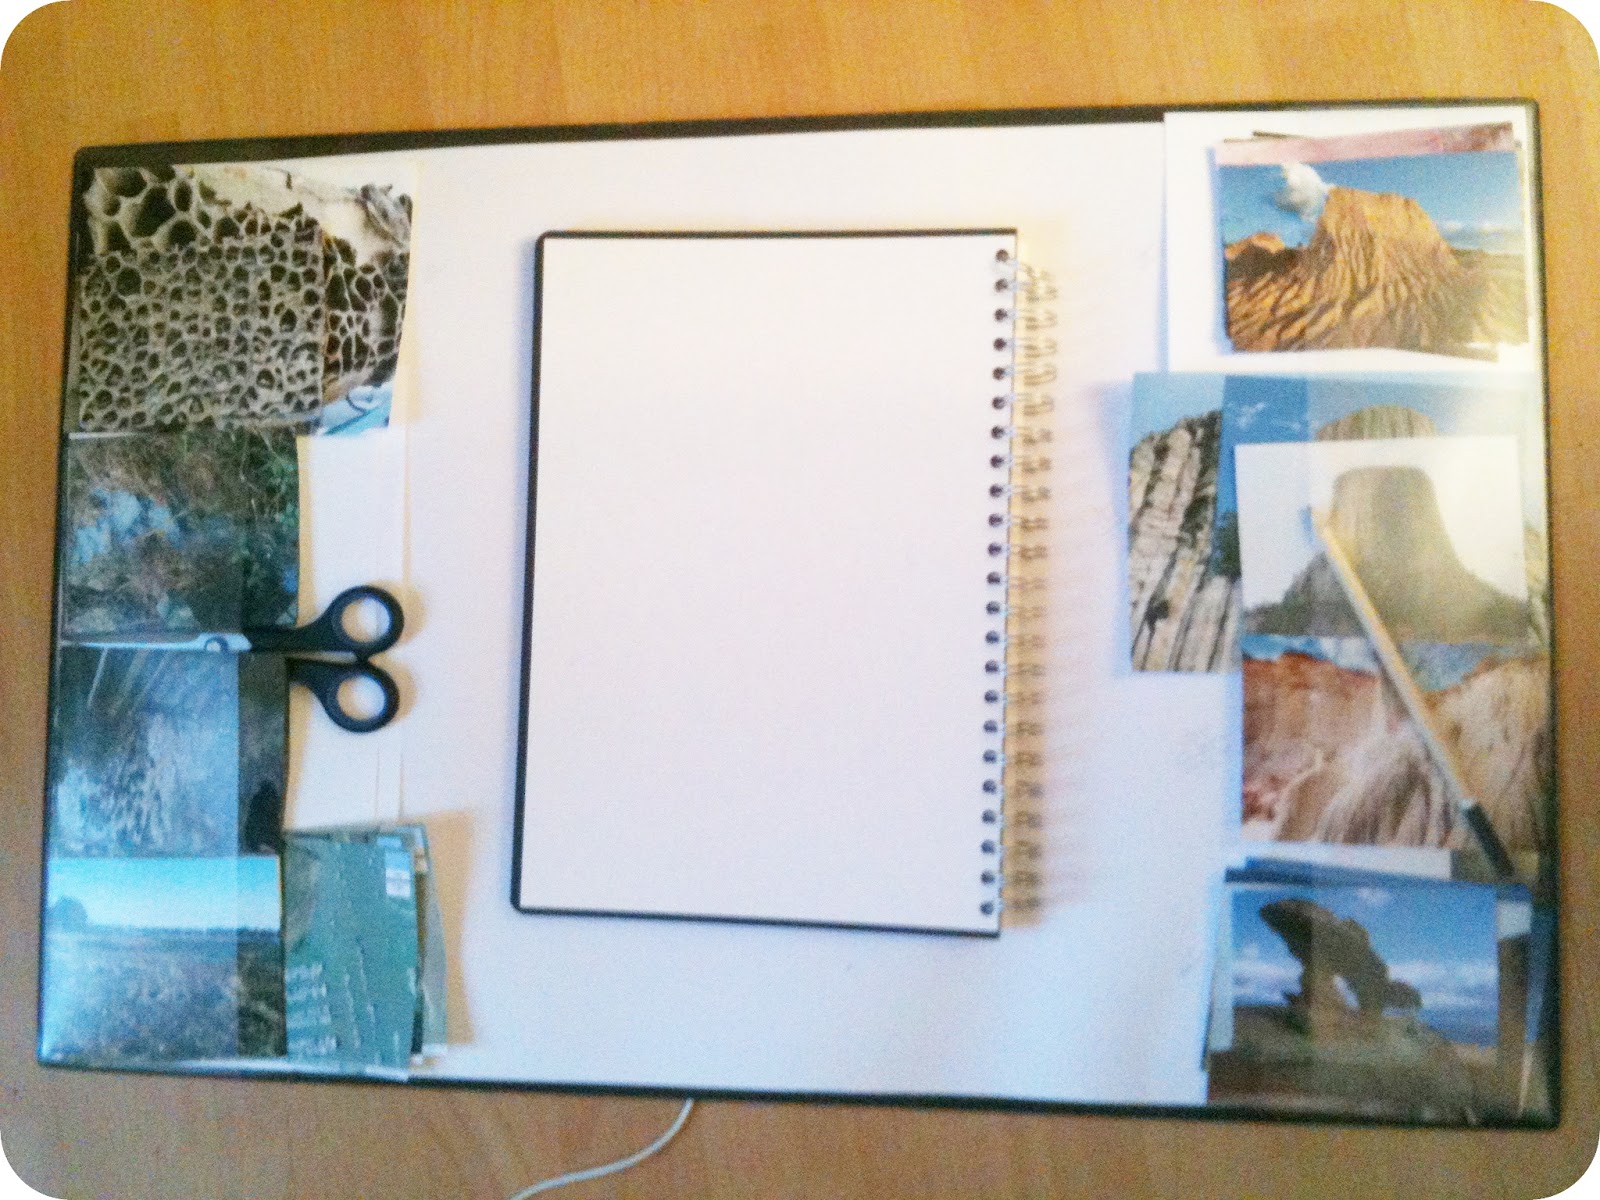
This has definitely helped to keep me more organised, and I've saved a lot of time from knowing where everything is. I definitely don't miss rooting around for things, and definitely have a clearer head for work without being surrounded by mess!


Tuesday 10 January 2012

How I store my Promarker Collection

I store my pens in a kind of cardboard box with mini dividers inside. This is what it looks like empty:

The inspiration behind the dividers comes from Enkore, a makeup guru on Youtube. I used the pattern he uses to make his lipstick holders, and made 3 of them. I made 3 boxes for each set of dividers, and then fixed all three together in a row before covering it all in black card. 

Having it divided it into 3 compartments stops it from warping too much. You can see even with the dividers its still a little distorted from the bulkiness of the pens.


This is how it looks with all my Promarkers inside (I keep the 6 duplicate colours I accidentally bought elsewhere as backup). I just store this on my desk so its easy to just reach for a colour whilst I'm working.

When I purchased my Letraset wallet, I also bought a pack of 'end dot colour labels' to label the end of the pens so its easier to see what I have. These cost just under £2, and I think worth the money. There are blank back-up labels in the pack too, should you lose a pen or accidentally (ahem) buy a colour you already had.


It arrived!

I can't believe how quickly this arrived, but it's finally here! 


I'm not too sure what I'd use the zip-up pouch at the back for, but I am in love with this wallet. Luckily its not as big as I was worried it was going to be. I definitely want to buy more of these at some point, but for now I'm very happy with just one :)


Sunday 8 January 2012

Reunited With An Old Love

I have finally come out of my writers block with my project, and have been busy researching and coming up with my initial design response.

For colour, I have dug out my collection of Letraset Promarkers (I counted around 65), and have found myself become addicted to them again! To store them I made a holder out of cardboard, which holds them vertically. But I can't really carry these around with me to and from university. So I have just ordered the wallet to store all the colours I need in:


It holds 24! Which is pretty good. It cost me £10.71 from the letraset website, and orders over £10 are free. So it's actually a lot cheaper to buy from here than on ebay!

Until it arrives, I will be using my Elf Studio Brush Holder (£5) to store most of the pens I need.


It holds 12 pens securely - though I definitely need more than 12 pens with me for my project. But for now its a good temporary solution.

I have been lusting after this holder for a while, but resisted buying it as I didnt really need it. But now I need more space, I've finally allowed myself to buy it.
-If you're looking for this kind of storage, but dont really need all 24 spaces, then I would recommend the Elf Brush holder. Though they both work out the same value for money, so you're getting a good deal either way!

Thursday 15 December 2011

Future Developments and Creative Block

I know it's been a while since my last post, but in the next coming weeks you should expect to see a bit more on here. Especially January when I officially start back at uni for my final major project!

Today's the day of our new brief, and I'm really stuck on which direction to go in. Last year I stupidly chose the Mayans to base my research on, but their clothing was not much to get inspired by: just a piece of fabric wrapped around the body. Their jewellery and colour was what caught my eye, but I ended up with lots of embellishment ideas and no actual ideas for design.

For now I have 2 ideas in  mind, but I'm worried I'll choose something too complicated.
Its so hard to come up with a simple idea that isn't overdone, and can inspire hundreds of different design ideas. I'm not sure if the ideas I've come up with fit that! The trouble with complicated ideas is that, although they're very inspiring, you will probably need 6 months to fully explore it and get the most you can from it. Unfortunately we only have the Christmas holidays to research our topics before we need to start designing and making. A complicated topic means lots of random design ideas, and a messy collection that doesn't fit together.

So this is my dilemma.
Though once I finally come up with something I will make sure I post any updates on my work, along with inspiration posts.

Apologies for the wordy post! I can't wait to start working on this project asap.
Carrie x

p.s Any project suggestions would be much appreciated! ;D

Thursday 13 October 2011

Primark Haul

I LOVE the box bag, I'd seen it in there a few times, but obviously this time I couldn't resist buying it!

Big rings are a big love of mine too, and I seem to have added stud earrings to my list of favourites too. I always think that even subtle earrings make such a big difference to an outfit.

Initially I picked up a lot of black knitwear, and was promptly told to put them pack by my boyfriend. He hates that I don't wear much colour, and always seem to opt for my 'safety' colour - black. I like that he pushes me to be bolder with my colour choices, so I picked these to up instead!


Sunday 9 October 2011

DIY Mannequin....Attempt 1

I know I promised a post documenting my DIY mannequin of myself with instructions on how to make it.... BUT my first attempt all went a bit pair shaped... So I've decided this is how NOT to make your own mannequin!

-It started off well, I had all of the necessary tools:
-Cling Film
-Mod Rock
-Bowl of water
-Newspaper

Then it all went down-hill from there....
My one roll of Mod Rock
Ensure you have enough mod rock: I would say get more than you think you'll need as it's better to be safe than sorry. You need to do about 2 coats of mod rock to make the structure strong enough, and as you can see from the photo's, 1 roll wasn't even enough for one layer!

Posture is everything: As it takes a while to dry, there's a big temptation to slouch while you wait. Try and make it in front of a mirror so you can see if you're standing properly. Or you'll end up with a distorted shape like below!


Attention to detail: Pay attention to the bust. Unless you are making a mannequin to make lingerie from, do not attempt to get the 'cleavage' part of the bust.
-You should also ensure you wear a bra (unless you never wear one). This is because when you're fully dressed you will most likely be wearing a bra, so you want your bust to sit in the right place on the mannequin for when you're drafting up a clothes pattern.
-Concentrate on the contours of the waist and the small of the back.

Protect your skin: Before covering yourself in mod rock you will need to protect your skin. I wrapped myself in cling-film first. BUT I did not use it to protect my neck. Yet I still applied the mod rock there, so by the time it had dried it had completely stuck to my skin. This made it very difficult and painful to remove, and I'm not going to lie - there were a few tears!

I will be attempting another one, hopefully soon. And hopefully this once will go right, especially after this one went so drastically wrong!

And I will 100% be doing a 'how-to' post on it.